Sunday, January 13, 2013

Our Master Bedroom

One of the first rooms we tackled when we purchased our home was the Master Bedroom.  I wanted to have that room completely finished (or atleast somewhat finished) before our wedding.  I didn't want to spend our first night in our home in a construction zone.  Lee and I recruited my parents to help us paint this room a few weeks before we said "I do".  Along with their help, we were able to move the bed into the room, as well as the other large furniture pieces.  When we got home from our honeymoon, we were able to spend the night in our bedroom, even if it was not completely finished.  Unfortunately,  the room stayed that way for a while, nothing on the walls, no curtains, nothing to make it look "lived in."  I finally had enough of the unfinished space and decided to complete our bedroom.  Of course, no room is ever "finished,"  but this one looks a whole lot better than where it started!

Here is the room when a few days before we closed on the house:

And here's the room now:


And because I love before and after pictures:

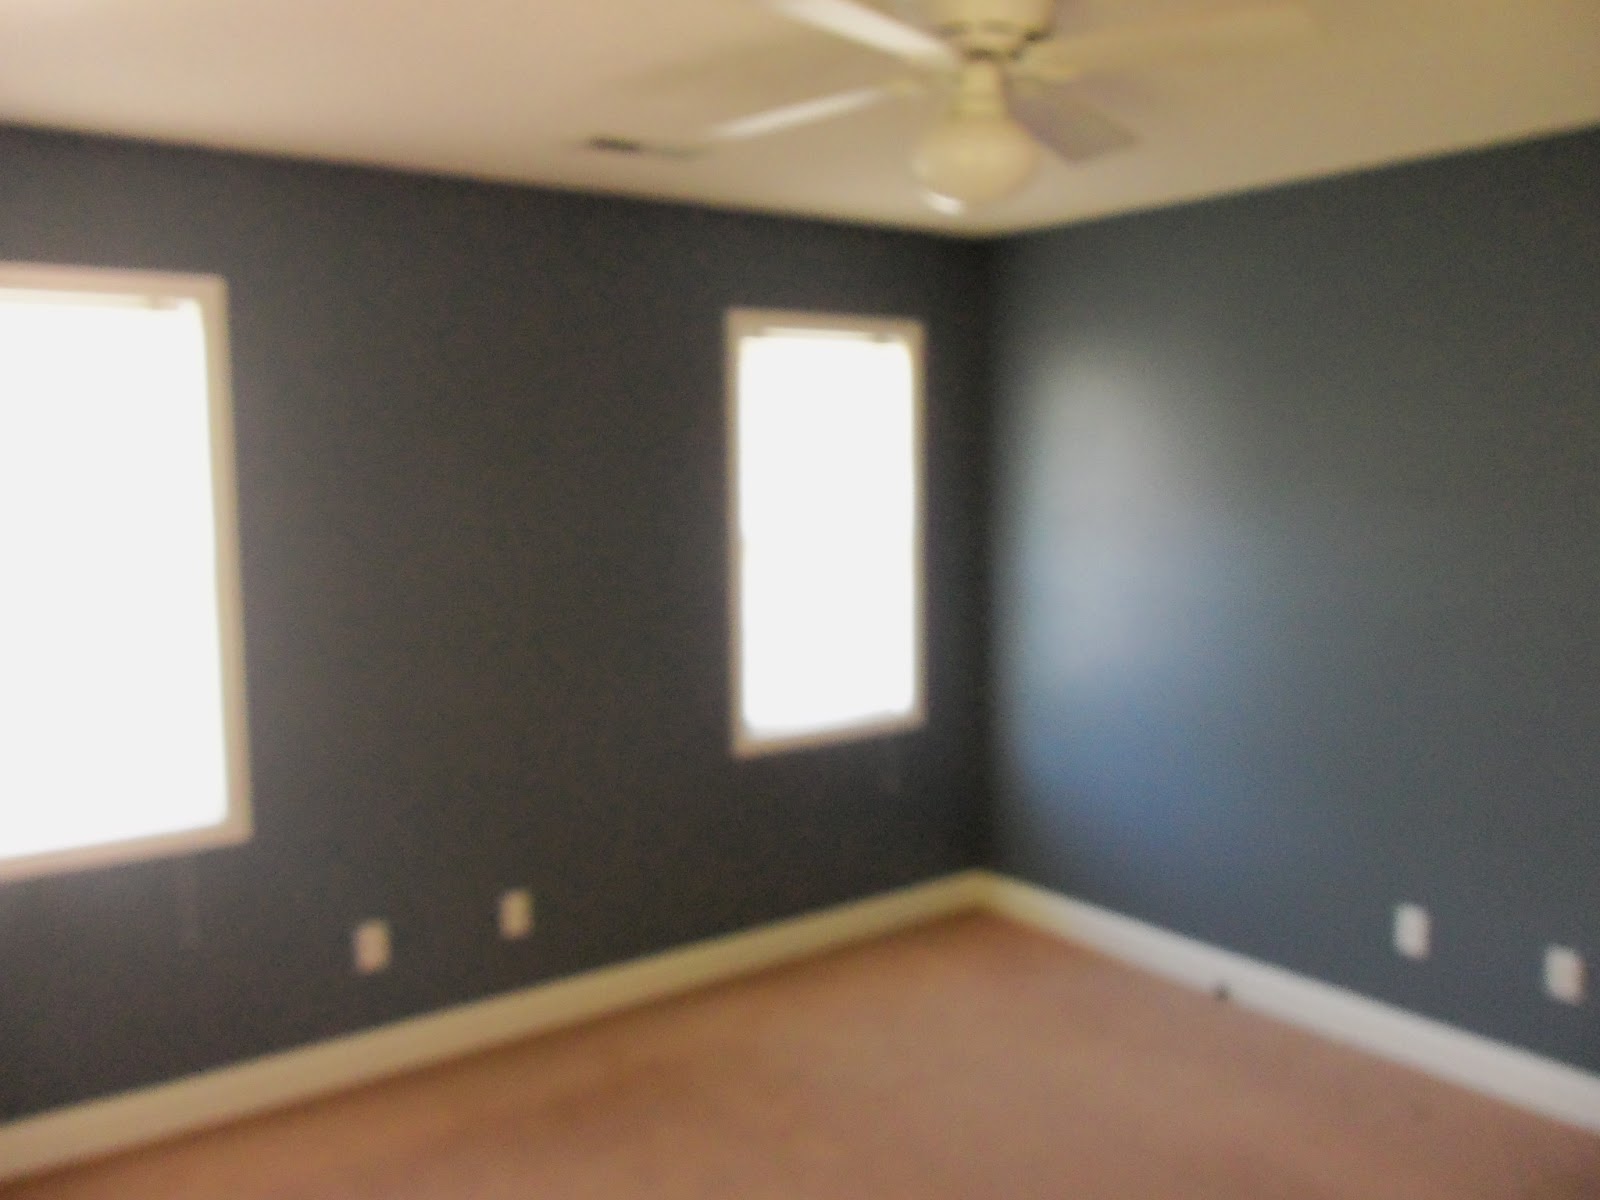
We are very happy with our bedroom now!  And even happier that we did the renovation on the cheap!

Thanks for visiting!
-Gina 

Tuesday, December 11, 2012

It's Beginning to Look a Lot like Christmas!

Christmas is my absolute favorite time of the year!

Even though I get tired of fighting crowds in stores while shopping for gifts, and exhausted after spending HOURS and HOURS decorating our home, Christmas just brings a joy to my heart.  It really is the hap, happiest season of all.  We spend a lot of time during the Christmas season reflecting on how much we have to be thankful for.  Our home is definitely one of those things.  I always love our home, but during Christmas, I think I love it just a little more.  No matter how bad of a day I have had, I can't help but smile when I see all of our lights glowing around our home.  Here is a glimpse of our home decked out for the holidays. 

Living Room


Our Nativity


Dining Room
Kitchen 


Doesn't it just look so cheerful!
Thanks for stopping by!
-Gina


Tuesday, December 4, 2012

JOYful Door Decor

Hey y'all!  How is it already December?!  CRAZY!  I am sure everyone is feeling the holiday rush right now!  I know we are.  Lee and I have spent every minute of our few days off trying to get our home holiday ready.  And I am very happy to say that we are nearly finished.  Just in time to enjoy it for 21 days and then take everything down....Ha!  Oh well! 

I wanted to share this adorable door hanger that I made with the help of my mom a few nights ago.  I started by purchasing some plain wooden letters from Hobby Lobby.  I painted them with Candy Apple Red acrylic craft paint. 


It took about 3 coats of paint to get the letters completely covered.


 Once I the final coat of red paint dried, I used a Q-tip and some white craft pain to randomly paint polka dots on both the "J" and the "Y."  I decided to make paint the "O" in candy-cane stripes.  I used paper masking tape to mark off varying widths of stripes, which I then painted white.  I pulled the tape off immediately and used a thin paint brush to clean up any rough edges on the stripes. 


To turn my cheerful letters into a door hanger, I simply hot glued some Christmas ribbon between each of the letters.  I then used some gold ornament hanger threads tied together to make a loop hanger, which I hotglued to the back of the J.  A Command Hook holds the door hanger in place.

I am just so pleased with the way this turned out.  Polka Dots and Stripes are two of my favorite things, and this door hanger perfectly combines those two patterns!  It took no time at all and really adds a lot of Christmas cheer to my kitchen! 

Have you been making any Christmas crafts lately?

Thanks for stopping by!
- Gina

Monday, October 15, 2012

Tasty Tuesday: 5 Minute 5 Star Nutella Peanut Butter Pie

This recipe is so quick and easy. It is perfect to make if you need a go to dessert!  FYI: it makes 2 pies.  You can half the recipes if you prefer to only make one.  (Once you taste it, I am willing to bet you will make both :)


Ingredients:
2 (9 inch) store bought Graham Cracker pie crusts (may substitute for Oreo pie crusts)
1 8 oz block softened cream cheese
3/4 cup Creamy Peanut Butter
3/4 cup Nutella 
1 cup Powdered Sugar
1 16 oz. container of Cool Whip
Semi-sweet chocolate chips
Chocolate Flavored syrup


In a mixing bowl, cream together softened cream cheese, peanut butter, powdered sugar, and Nutella.  Once combined, add in 8 oz. Cool Whip, slowly combining until mixture is smooth

  
Now, stir in semi-sweet chocolate chips.  You can use as many or as few as you like.  I typically use about 1/2 cup.  


Divide mixture equally between each pie crust.


Use the remaining 8 oz. of Cool Whip to "frost" each pie.


Decorate the top of each pie with chocolate flavored syrup.  You can create a pretty pattern by swirling the chocolate syrup in a circular fashion from the center of the pie and working outward.  Next, using a pointed kitchen knife, lightly pull the syrup to create "stripes".  Continue using your knife to pull the syrup in different directions, alternating upward and downward strokes until you reach the following result. 
Chill for atleast 2 hours, serve, and enjoy!


Happy Snacking!
-Gina

Thursday, October 4, 2012

From Sidewalk Shab to Fall Fab: Using Window Panes as Decor


Lately, window panes are popping up everywhere as whimsy decoration!  There are so many cute ideas on Pinterest and other blogs, like these window pane eye candies:


Book display window pane via The Farmer & The Southern Belle


Pinned Image
Window Pane Photo Frame (source not listed)
One day, my husband and I were driving around, and I spotted a collection of window panes on the sidewalk outside of a local consignment shop.  I convinced him to turn around so that I could browse their selection.  He looked at me like I was crazy, but I persuaded him.  I spotted this window and decided it was in pretty decent shape, just needed a lil' TLC and some elbow grease (and Clorox clean-up.... and Windex...and maybe a scrubber pad or three), but I just knew it had potential.  So I picked it up for the bargain price of 10 bucks.
Now I just had to figure out what to do with it.  I saw these photos online of some cute window pane decor at The Simple Things and June & Bear, where I got inspired, finally deciding to use my pane as a backdrop for some more fall decor!
Inspirational Halloween Mantle via The Simple Things
Neutral Fall Mantel via June & Bear
I cleaned up my the window, and touched up a few rough patches with some acrylic paint.  I decided that I did like the more "rustic look" and grabbed some sand paper to lightly roughen up the areas that looked a bit too perfect.  When I was happy with the look, I got my handy hubby to attach a picture hanger to the back of the frame.  I then hung it on the wall in place of my usual large clock above a console table.  She was lookin' pretty good, but she needed some accessories!  Off to the craft store I went.  I decided on a rustic fall wreath of twigs and berries (that was on sale for $3 bucks!!!)  I then took some extra burlap from my DIY burlap banner and used it to attach the wreath to the window pane.  And there you have it, a super inexpensive way to create a fall vignette.


I shopped my house to add some extra decor to the table beneath my fabulous window pane:  Some wooden candlesticks that I found on clearance at Hobby Lobby a while ago, a thrift store milk glass vase filled with dollar store moss and a small sparkly pumpkin on top, a "rustic" looking picture of hubby and myself from our engagement pictures a few years ago, and a monogrammed craft pumpkin that I created for cheap using a vinyl letter purchased at a craft store.


I must say I am pretty pleased with my tablescape.  It adds the perfect amount of fall warmth to this small section of our home.  And considering it all came from a piece of sidewalk trash treasure.  Have you created anything with window panes lately?  You should try it! The possibilities are endless.
~Enjoy your day~
- Gina

Linking up with:
My Repurposed Life


Tuesday, September 25, 2012

DIY Fall Burlap Banner

A few days ago, I was browsing Etsy, looking for cute home décor pieces I could use while decorating for fall.  I saw a fall burlap banner that I really loved, but I couldn’t justify spending $25 plus shipping for a few pieces of burlap attached to a piece of twine.  So I decided to try my hand at making one for myself.  I headed off to Hobby Lobby and found a piece of burlap remnant that I got for $2.65, a roll of thin brown velvet ribbon for $1.00, some brown acrylic paint for 99 cents, and a two pack of burlap rosettes for $3.00.  I came home and did a quick Google search for making a burlap banner, which led me to a tutorial at JustSew Sassy.  Unfortunately, I did not have any stencils for letters, and I do not own (nor know how to operate) a sewing machine.  So I got crafty...  


After making a rough template for my pennant shape from a piece of copy paper, I cut out my 4 pieces of burlap pennants.  Next, I used Word to find a typeface that I liked and printed off the letters for FALL in a large print.  (I used plain old Times New Roman font).  Once I was pleased with the size of the letters in ratio to the pennants, I placed the letter underneath my burlap pennant.

 Because the weave of burlap is so loose, I was able to see through the fabric and could “trace” my letter using an old ink pen and my brown acrylic paint.  

 Once I had the shape outlined, I painted in the remainder of my letter using a small paint brush.  Eventually, the pennants looked like this:
Once all four letters were painted, I allowed them to dry for about 30 minutes.  The acrylic paint dries pretty quickly.  Next, I grabbed my hot glue gun to assemble my banner.  I spread my ribbon out on a flat surface (my kitchen counter) and played around with the spacing of the pennants.   


When I was happy with the spacing, I flipped them over (right side down) on the counter.  I put a bead of hot glue across the top of each pennant, and then glued the back of the ribbon (velvet side up) to the pennants. Next, I placed another bead of glue directly beneath the ribbon, then folded the top of each pennant down, creating a semi-hem for the banner.  Once the pennants were secured to the ribbon, I flipped it over and TA-DA... I had a decent looking fall burlap banner! 
To finish it off, I simply glued the burlap rosettes to the ends of the banner.  


 Finally, it was time to enjoy my work. 

Fall Burlap Banner

Fall Burlap Banner Mantle
I just love my banner!!

Fall Mantle
Mantel is still in progress :)
I must say I think my DIY banner looks pretty great as a part of my fall mantle.  And considering that it only cost me $7.64 for the supplies, I saved a good bit of money by doing this project myself.  Score!  This project definitely goes in the “winning” file!

Thanks for stopping by!
- Gina

Sunday, September 23, 2012

Last Stops: Ketchikan and Victoria, British Columbia

Our last few days on the cruise seemed to just fly by.  The end of vacations always seem that way – the dread of returning to reality slowly creeping in.  Our next stop was Ketchikan, also known as the “Salmon Capital of the World”.


 It was a fairly small town, but it was still pretty interesting to see.  We started our visit with another Duck Tour. 

 To be honest, I would not recommend this tour if you are going to Ketchikan.  There was not much to see and the tour was not worth the money we spent.  They also advertised that it was a 2.5 hour tour, and we were finished in about an hour and a half.  So, we were a bit disappointed in that regard.  After our tour, we wandered around Ketchikan and checked out the local shops.  We saw quite a few totem poles, which were all very impressive. 

Close up of the totem pole - they are so detailed


 We also headed over to Creek Street – an area that once housed nothing but brothels, but has now been converted to trendy shops, art galleries, and restaurants. 


 It was interesting to learn that at one time, the number 1 occupation in Ketchikan was… a lady of the night...  (I don’t really know the best way to phrase that.)  Anyway, THAT business was pretty popular in the era of the gold rush.  After checking out downtown Ketchikan, we headed over to watch the Great American Lumberjack Show.   I have seen this on ESPN before and thought it would be something that my dad and Lee would both enjoy.  The show was entertaining; I think my Dad and Lee enjoyed it a lot.  Mom and I would have probably preferred a few extra hours of shopping time.

 
  After the Lumberjack Show, it was time to head back on board the ship and set sail for Victoria, British Columbia.  We spent the remainder of the night onboard eating dinner, going to see a Broadway type show, and trying our luck in the casino.  We arrived in British Columbia at 6:00 pm the next day.  We had arranged for a tour of the city since we knew it would be dark during our visit, and we didn’t want to chance getting lost and being left in Canada.  We learned that Victoria is the retirement capital of Canada and their home prices are outrageous: a downtown 2 bedroom bungalow costs anywhere from $700,000 to $900,000.  Crazy! It really was a beautiful city, and I wish we had been able to spend more time there.


 Our tour lead us to the Craigdarroch Castle, a private home built by a coal tycoon for his family.  It was very pretty (but nowhere near as beautiful or big as the Biltmore House).

After leaving the “Castle,” we headed off to downtown Victoria for sights of the Parliament Building and other landmarks, including the Empress Hotel.  This place was gorgeous!  It was built in 1908, and is ranked as one of the top hotel destinations in Canada.  I definitely wouldn’t mind spending a few nights there (hint, hint Lee). 

Parliament Building illuminated at night

Empress Hotel
Another interesting place was Roger’s Chocolates, a chocolate shop that has been in Victoria since the late 19th century.  Apparently, it was a favorite of former President Franklin D. Roosevelt, and he constantly had chocolates shipped to him in office.  Chocolate is definitely an important part of the US government budget, right?


Unfortunately, they were already closed so we didn’t get to sample their treats, but I found that they do have a website and I am still tempted to order something.  Victoria was such a pretty town, and I would love to go back there some day.

  It was the perfect end to an incredible vacation.   I am so happy we had the chance to see the things we did, and I hope you all enjoyed reading about our experience! 
Related Posts Plugin for WordPress, Blogger...